1. apache ip 접속 제어 설명
1-1 apache ip 접속 제어 방법
apache 에서 특정 ip 접속 제어를 하려면 httpd.conf 나 httpd-vhosts.conf에서 설정을 해줘야 합니다.
Vi 로 해당 파일을 연 뒤 아래와 같이 Driectory 부분에 설정을 적용해야 합니다.
|
<VirtualHost *:80> DocumentRoot “/home/91jos/” ServerName 115.68.220.225 ServerAlias 91jos.xyz ErrorLog “logs/91jos.xyz” CustomLog “logs/91jos.xyz” common <Directory “/home/91jos/”> => 해당 디렉토리에만 접속 제어를 할 수 있습니다. Order deny,allow deny from all </Directory> </VirtualHost> |
1-2 apache ip 접속 제어 옵션 설명 (apache 버전별 옵션)
|
Apache 2.2이하 버전의 옵션 deny => 차단 allow => 허용 deny from all => 모두 차단 allow from all => 모두 허용 위와 같이 deny,allow from 뒤에 적용할 ip를 적어주면 됩니다. ex) deny from 192.168.1.2 => 192.168.1.2 ip 한개를 차단 deny from 192.168.1.2 192.168.1.3 => 192.168.1.2 192.168.1.3 두개의 ip 차단 deny from 192.168.1.0/24 => 192.168.1.0~192.168.1.255 대역 모두 차단 Apache 2.4이상 버전에서는 옵션이 약간 다릅니다. deny from all = require all denied => 모두 차단 allow from all = require all granted => 모두 허용 require not ip 192.168.1.2 => 차단 require ip 192.168.1.2 => 허용 추가로 호스트 제어도 가능합니다. ex) require not host 91jos.xyz => 차단 require host 91jos.xyz => 허용 |
2. apache ip 접속 제어 적용
2-1 apache ip 접속 차단
|
<VirtualHost *:80> DocumentRoot “/home/91jos/” ServerName 115.68.220.225 ServerAlias 91jos.xyz ErrorLog “logs/91jos.xyz” CustomLog “logs/91jos.xyz” common <Directory “/home/91jos/”> Order deny,allow deny from 121.170.188.111 => 121.170.188.111 ip 접속 차단 </Directory> </VirtualHost> |
위와 같이 121.170.188.111 ip를 차단을 하고 apache 재시작을 해보겠습니다.

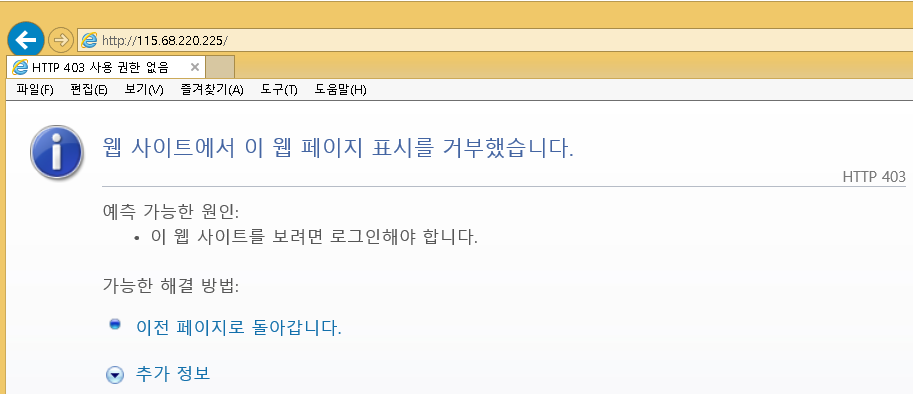
Deny 적용한 ip 인 121.170.188.111 에서는 웹페이지 접속이 되지 않고
아래와 같이 다른 ip에서는 접속이 잘 되는 것을 볼 수 있습니다.

아래와 같이 적용해도 위와 같이 차단됩니다.
|
<Directory “/home/91jos/”> Order deny,allow deny from 121.170.188. => 121.170. 또한 동일하게 적용됩니다. </Directory> </VirtualHost> <Directory “/home/91jos/”> Order deny,allow require not ip 121.170.188.111 => 또한 동일하게 적용됩니다. </Directory> </VirtualHost> |
2-2 apache ip 접속 허용
ip 접속 허용은 deny from all 이란 옵션으로 모든 ip를 막고 특정 허용할 ip만 허용을 해야 합니다.
아래와 같이 설정을 해 보았습니다.
|
<VirtualHost *:80> DocumentRoot “/home/91jos/” ServerName 115.68.220.225 ServerAlias 91jos.xyz ErrorLog “logs/91jos.xyz” CustomLog “logs/91jos.xyz” common <Directory “/home/91jos/”> Order deny,allow allow from 121.170.188.111 => 121.170.188.111 ip 허용 deny from all => 모든 ip 차단 </Directory> </VirtualHost> |
아래와 같이 121.170.188.111 에서만 접속이 되고 다른 ip에서는 접속이 되지 않는 걸 확인 할 수 있습니다.

=> 접속 완료

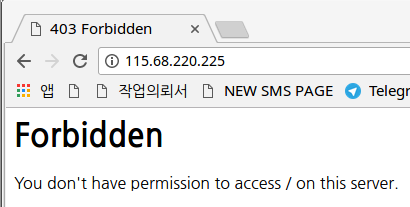
=> 다른 ip 접속 차단
아래와 같이 대역별로 적용도 할 수 있습니다.
|
<VirtualHost *:80> DocumentRoot “/home/91jos/” ServerName 115.68.220.225 ServerAlias 91jos.xyz ErrorLog “logs/91jos.xyz” CustomLog “logs/91jos.xyz” common <Directory “/home/91jos/”> Order deny,allow allow from 121.170.188.0/24 => 121.170.188 대역 ip 허용 deny from all => 모든 ip 차단 </Directory> </VirtualHost> |
아래와 같이 적용해도 위와 같이 적용이 됩니다.
|
<VirtualHost *:80> DocumentRoot “/home/91jos/” ServerName 115.68.220.225 ServerAlias 91jos.xyz ErrorLog “logs/91jos.xyz” CustomLog “logs/91jos.xyz” common <Directory “/home/91jos/”> Order deny,allow require ip 121.170.188.111 => 허용 require all denied => 모든 ip 차단 </Directory> </VirtualHost> |


